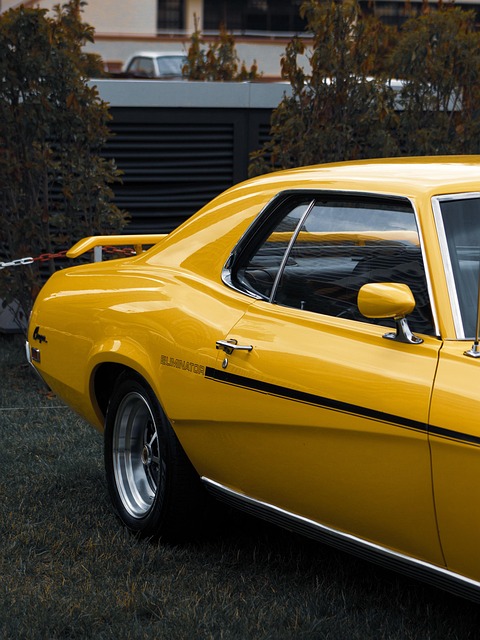

Tesla composite repair for rear diffusers and skirts requires specialized techniques due to their intricate design and materials. The process involves careful disassembly, safety precautions, precise preparation, and advanced repair methods like layering and bonding. Skilled technicians inspect, clean, and restore damaged components to maintain structural integrity and original aesthetics, ensuring seamless fit and boosting vehicle value.
Tesla owners often face challenges with their vehicle’s composite materials, especially for the rear diffuser and skirts. This comprehensive guide delves into the intricacies of Tesla composite repair, offering a detailed understanding of these unique automotive components. We’ll walk you through the process of replacing a damaged rear diffuser, from identifying issues to ensuring a flawless fit. Additionally, learn expert techniques for skirt restoration, covering best practices to restore your Tesla’s aesthetic appeal.
- Understanding Tesla Composite Materials and Their Repair
- Step-by-Step Guide to Rear Diffuser Replacement
- Restoring Skirt Damage: Techniques and Best Practices
Understanding Tesla Composite Materials and Their Repair
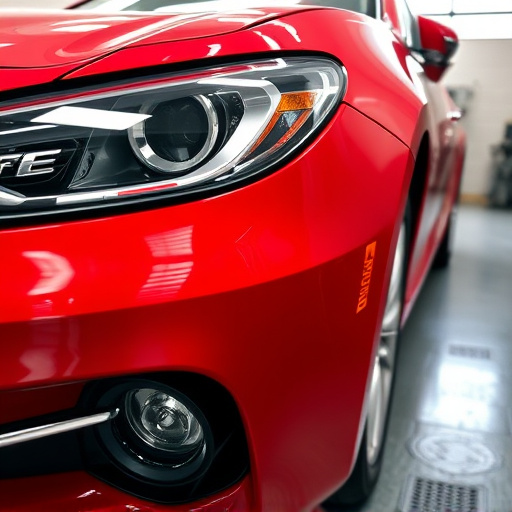
Tesla vehicles are renowned for their cutting-edge design and innovative use of composite materials. When it comes to repairs, especially for components like the rear diffuser and skirts, understanding these composites is crucial. Tesla composite repair involves working with advanced materials that differ significantly from traditional metal or plastic. These composite materials often consist of a fiber core (such as carbon fiber) reinforced with a resin matrix, creating a strong, lightweight structure.
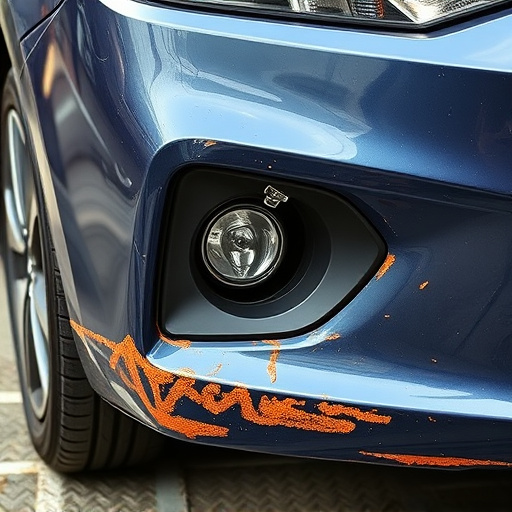
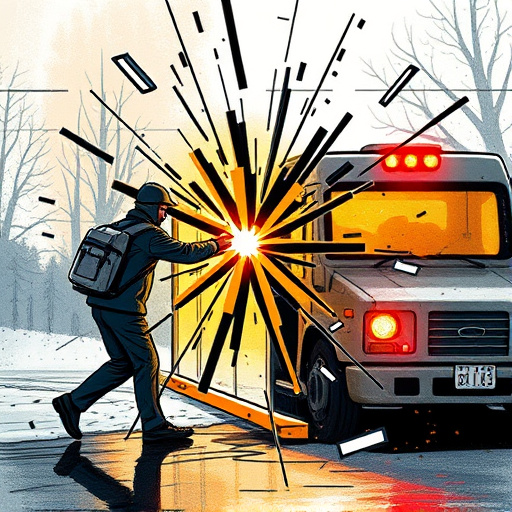
Damage to these parts, typically due to collisions or road debris, requires specialized auto repair near me services that can handle Tesla composite repair. Unlike conventional collision damage repair, working with composites demands precise techniques and tools to ensure structural integrity is maintained. Automotive collision repair experts need to employ methods tailored for composites, such as expert layering and bonding, to restore these intricate parts to their original state, both in terms of aesthetics and performance.
Step-by-Step Guide to Rear Diffuser Replacement
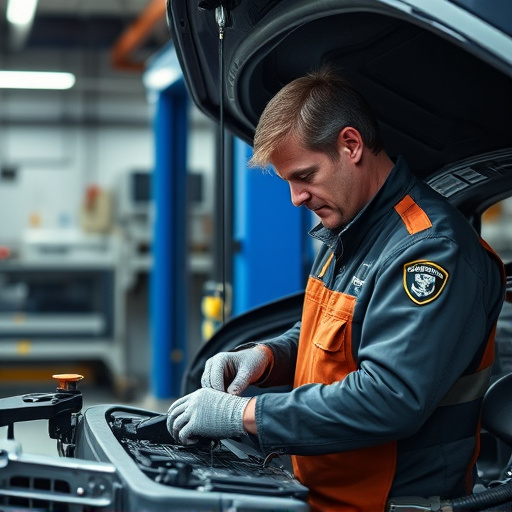
Replacing a Tesla rear diffuser is a task that requires precision and the right tools to ensure a seamless fit. Here’s a step-by-step guide for this Tesla composite repair:
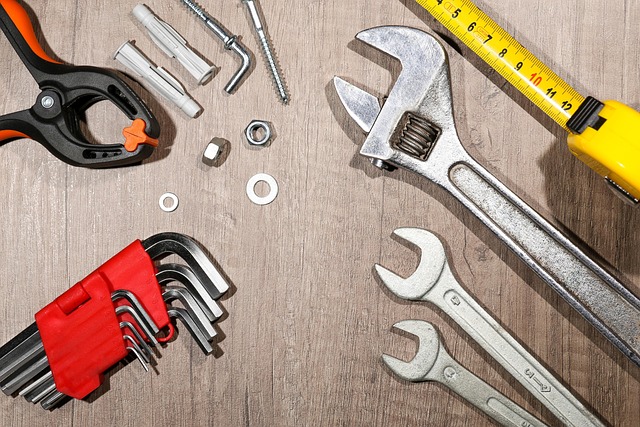
1. Safety First: Begin by ensuring your workspace is well-lit, clean, and organized. Put on safety gear, including gloves and eye protection. This protects you from debris and any sharp edges during the disassembly process.
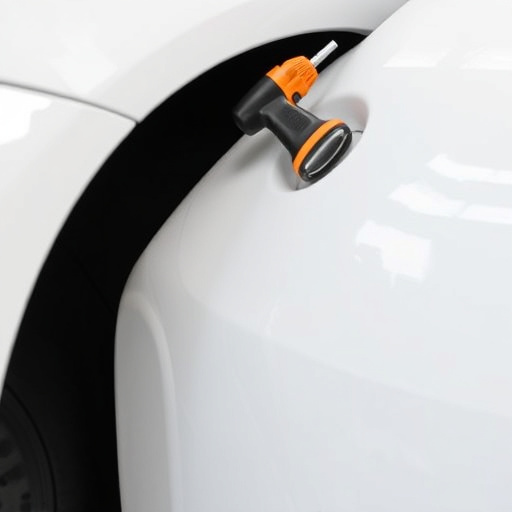
2. Remove Existing Parts: Carefully detach the damaged rear diffuser and skirts using a suitable sealer or adhesive remover to dissolve any bonding agents. Once freed, set these parts aside for later use as templates or for recycling if not repairable. Next, release any retaining clips or fasteners holding the diffuser in place. This often involves removing trim pieces around the area to gain full access.
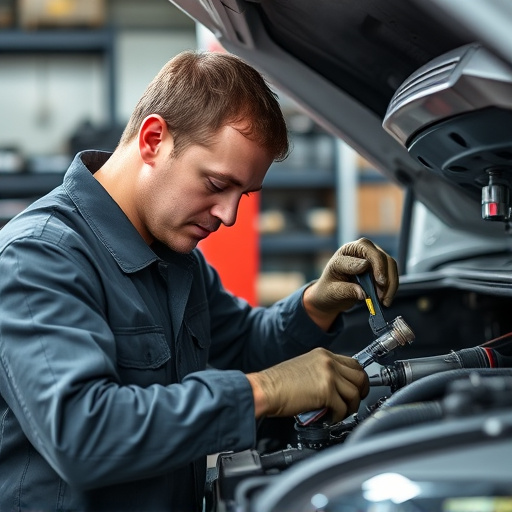
3. Inspect and Prepare: Examine the surrounding vehicle body repair areas for any associated damage. The process may require repairing or replacing other components if they’re affected. Clean the surface thoroughly, ensuring it’s free from grease, grime, or previous repair residue. This step is crucial to achieving a proper adhesion for new composite parts.
4. Install New Diffuser: Position the new rear diffuser carefully, aligning it with the vehicle’s design lines. Use clamps to secure it in place temporarily. Apply a suitable adhesive designed for Tesla composite repairs and follow manufacturer instructions for cure time. Once set, remove clamps and ensure all components are firmly attached.
5. Reattach Skirts: After the diffuser has cured, carefully reinstall the skirts, securing them with clips or fasteners as originally specified by Tesla. Verify that everything is aligned correctly before tightening fully.
Restoring Skirt Damage: Techniques and Best Practices
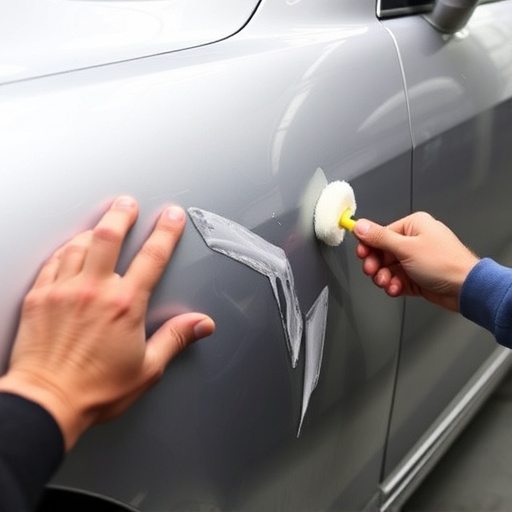
Restoring Skirt Damage involves precise Tesla composite repair techniques to ensure a seamless finish. The first step is to thoroughly inspect the damaged area, identifying the extent of the composite material’s degradation. This may include cracks, chips, or dents that require specialized tools and expertise to fix effectively. A collision repair shop equipped with the right resources can accurately assess and address these issues.
Best practices dictate preparing the surface by removing any loose debris and applying appropriate primers before attempting any repairs. Skilled technicians use specific composite repair methods tailored to Tesla vehicles, ensuring the original aesthetics are maintained. This meticulous process involves filling in cracks and dents with matching composite material, followed by careful sanding and polishing to achieve a smooth, durable finish that blends seamlessly with the car’s body. These techniques, when executed correctly, can bring the skirt back to its pre-accident condition, enhancing the vehicle’s overall appearance and value.
Tesla composite repair, particularly for rear diffusers and skirts, is a specialized yet accessible process. By understanding the unique materials and following proven techniques outlined in this guide, car enthusiasts can effectively restore their electric vehicles to like-new condition. Whether replacing a damaged diffuser or repairing skirt nicks, these steps empower owners to take control of their vehicle’s upkeep, ensuring a smooth, seamless, and cost-effective experience.